Wednesday, August 29, 2012

Is it Summer Yet?


I know -- it's almost over.  The past few weeks have been a whirlwind of family, friends, and excitement.  Not all of it has been good, but I will spare my readers the bad stuff and share some of the fun stuff.

The top picture is from an all too brief camping trip with some friends in central Wisconsin.  This is the Fox River.  Every morning I was awakened by the rather loud call of Whooping Cranes.  But I could never get close enough to photograph them.  The only picture I took of them flying away didn't even capture them in the shot!


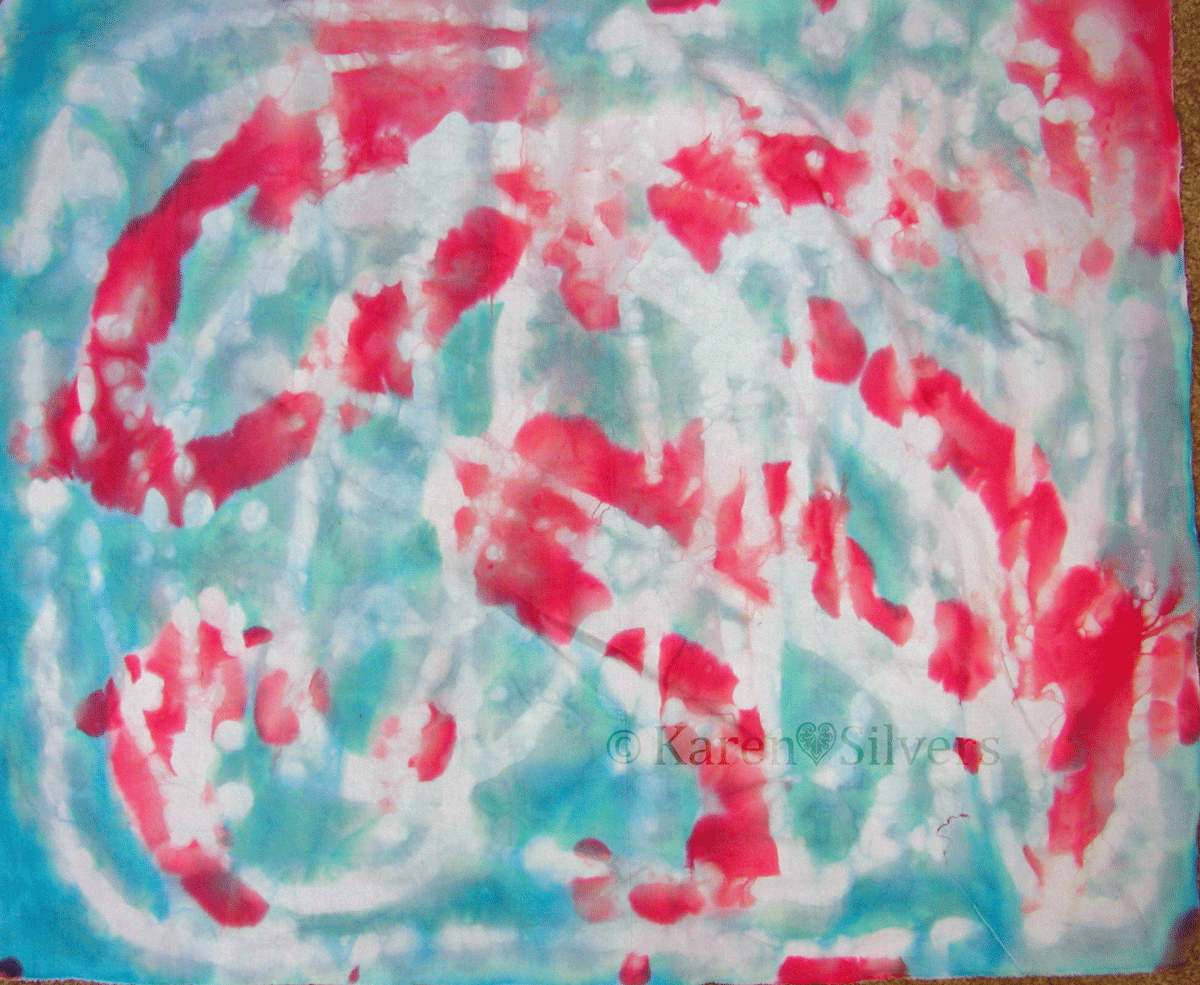
So I sketched one on some fabric with my new markers -- more about the markers below.


We spent a lot of time hiking around the area -- the campground where we stayed had some wonderful footpaths skirting the marshes (where I could hear those cranes whooping it up).


I don't know what these wildflowers are, but I like them.

Of course we brought the dogs -- Scout is just too cool.


And Rosie was happy.

I took my daughter to visit my father in California.  This was her first time at the beach since she was a toddler.  I could hardly get her out of the waves  -- and she felt the same about the pool.


There were tons of pelicans flying about -- but of course never when I had my camera out.  Here are my new markers -- they were half price, so I snuck them in with the school supplies --- shhhh....

There is no brown marker in the package, so I used orange and purple.

We visited the Museum of Making Music (here).   And this is DD playing guitar under a picture of three of my four favorite musicians -- this iconic photo was taken by Henry Diltz before Neil Young joined the band.   I have lots more photos from the museum -- I'll probably use them in future projects.

Monday, August 13, 2012

Stripping On the Design Wall


On this rainy Monday in August my design wall holds possibilities.  I'm back to stripping -- this time with these lovely warm Caribbean colors.  Not sure what this will become...

To see other design walls, click here to go to Judy's blog.

Sunday, August 12, 2012

Can't Resist Those Sweets

 Over at the "...Fire" blog we are doing resists with Lisa Kerpoe.  Click here for her post and instructions for this technique.


It took me three tries to get this right.  The first time the syrup was too thin and the colors on my fabric were washed out and boring.


The second time, I boiled the syrup until I had delicious caramel.  Great for eating -- not so great for this project.


The third time it was just right.


I love the way that the resist and the dyes ran together.


The backside of these is the most interesting.  This was a fun technique.  The best part is there is no waiting for the resist to dry before adding the dyes.  

Tuesday, August 7, 2012

Tell-All Scoop on Resist/Dye-Painting


As promised, here is the scoop about my resist/dye-painting technique.  I mixed up a flour resist (equal parts AP flour and water), poured it in a baggie, and sealed it.  Then I cut off a tiny corner of the baggie.


I had my dry soda-soaked fabric taped down over a plastic dry-cleaning bag on top of my pattern.  Using the baggie like a pastry bag, I squeezed a thin bead of resist around the outer edge of the flower.  I used my small putty scraper to scrape and smooth the resist toward the center of the flower.  I wanted the color stronger toward the center of the flower, so I used less resist there.  I set up a fan and let it dry overnight.  Then I rolled the dried resist-covered fabric up and flattened it to crack the resist before I taped it back down on the pattern.


I mixed the dye thickener with the dye powder (while wearing my mask!) directly in this plastic muffin tin.  I used a thin mixture of dye paste (one quart water, two teaspoons of thickener): to 1/4 cup dye thickener I added 1 teaspoon dye powder.  These cups hold about 1/8 cup so I reduced my amounts accordingly.  I found that I needed much less than 1/8 cup of any of the colors to finish my painting.


Using my synthetic brushes (the same ones I use for acrylic paints) I painted right over the resist with my thickened dyes.  I like the white plastic muffin "tin" because I can see the color I'm working with.  I can mix shades on the plastic in between the cups.  There is one cup full of uncolored dye thickener that I use to make the lighter shades.  Then I rolled up the plastic and let it batch in a warm place (outside on the front porch) overnight.  I have left these pictures pretty large, so click on them for a closer look.


Here is the finished piece after the resists and all the excess dyes have been washed out.  I have already added the foil on the beetle in this shot.  Now it's ready for layering and thread.

The dye thickener is available at Prochemical and Dharma Trading.  The brushes and plastic muffin "tin" are available from Dick Blick.  I like the Blick's student brushes -- they are good quality and not terribly expensive.  

Monday, August 6, 2012

Back to the Series


On this first Monday in August I thought I'd share a shot of three of the four hibiscus series that I've painted so far as they appeared on the design wall before I layered them in preparation for quilting.


I used a little bit of foil and Misty-fuse to make the beetle sparkle on this resist/dye-painted hibiscus.


And a bit here on this dye-painted one too.  I'll hit it with thread when I do the quilting.

I have nearly finished the quilting on the acrylic ink hibiscus.  I was a little stumped about what to do in the background; but after I examined the original photo I realized that in the greenery of the background, there were lots of buds among the leaves.  And hibiscus buds would be a lot of fun to quilt.

Then I had to decide what color and weight of thread to use.  I used a variegated green 40 weight King Tut thread here.  I'm still debating what color/weight to use in the black areas of the background.  I can't rip out thread on this acrylic ink-painted piece because the holes will show (guess how I know that).  So I have to get it right the first time.

No, you can't see the back yet...

Tomorrow I will post a tell-all about how I did the resist/dye-painted hibiscus on the left in the photo at the top.

Until then, there are design walls aplenty at Judy's blog (here).

Thursday, August 2, 2012

Ice Dyeing: Marvelous or Meh?


The June/July issue of Quilting Arts has an article on ice dyeing.  It involves sprinkling dye powder on ice cubes which are on top of fabric so that the ice acts as a resist and the color melts down over the fabric.  It's a lot like snow dyeing -- but with chunks.  I've known a few people who don't mind messing with the powdered dyes and have achieved really good results with the powder-sprinkling technique.


I have to admit I hate messing with the dye powders.  On dye day I put on my mask, measure everything out, mix it up, put it in bottles, and clean it up as quickly as possible so that I can whip off the mask and breathe.  And get on with the dyeing portion of my program.  But I was just enough intrigued by the fabric pictured in the magazine to try it.


I purchased a small bag of ice at the grocery store, ran home, and set up at the art table on the front porch.  Of course a breeze blew up and I had to move everything inside to the dye studio (AKA the northeast corner of the garage).  


I always set everything out on damp paper towels when I'm mixing up the dyes and this is mentioned as a good idea in the magazine story.  It's pretty hard to do this without some spillage of dye powder.

I didn't have any fancy tall containers so I made do with these paint containers.  I was able to get two or three layers in each.


I've included photos of the best fabrics from this.  Was it worth the trouble of having to work wearing the mask?  Well, I got more "meh" fabrics than great ones.  And it looks a lot like the results I can get pouring dyes on fabric on plastic -- or any of the LWI (low water immersion) techniques.  Or on snow.  It seemed to work best on fat quarters rather than half yards (fat quarters were recommended in the magazine story).


Would I do it again?  Maybe.  I might try it with snow.  Or maybe not.  Usually I just pour the dyes over the snow.  I like the results I get with that.  Of course, we didn't get much snow last winter.  And the grocery store always has ice -- even in winter.