Showing posts with label foil. Show all posts

Saturday, January 12, 2013

Hibiscus 4


The fourth and final in the series (so far).  This one was painted with thickened dyes over a flour resist -- click here to read that post.

I used wool batting and cotton threads.


The beetle is black Misty-fuse under a bit of foil for sparkle -- because you can't get sparkle with dyes.  I used 50 weight cotton Auriful thread for the legs and around its body.


And the back...for Beth and Lynne.


The four quilts will be hung together on Monday at Olbrich Gardens in a show featuring work by Madison Contemporary Fiber Artists.  The show will run through April.  I will go next weekend and photograph the show and then share some of the photos here.

Thursday, January 10, 2013

Hibiscus 2


This is the second in the series.  I painted the image with thickened dyes on cotton fabric.  There is a more informative (read: loquacious)  post about the dye-painting here.


I used a wool batt and cotton threads for the quilting. 


The beetle was pretty blah -- you can't get sparkle with dyes -- so I used a bit of black Misty-fuse and some foil to give it that shine.


And the backside.  I mentioned in a previous post (here) that I purchased some inexpensive cotton that's a bit heavier than the stuff I use for most of my dyeing and piecing (and other evil experiments...).   I dyed it especially for hiding stuff on backsides.  Pretty slick, huh?   Bwahahahaha....!

Monday, August 6, 2012

Back to the Series


On this first Monday in August I thought I'd share a shot of three of the four hibiscus series that I've painted so far as they appeared on the design wall before I layered them in preparation for quilting.


I used a little bit of foil and Misty-fuse to make the beetle sparkle on this resist/dye-painted hibiscus.


And a bit here on this dye-painted one too.  I'll hit it with thread when I do the quilting.

I have nearly finished the quilting on the acrylic ink hibiscus.  I was a little stumped about what to do in the background; but after I examined the original photo I realized that in the greenery of the background, there were lots of buds among the leaves.  And hibiscus buds would be a lot of fun to quilt.

Then I had to decide what color and weight of thread to use.  I used a variegated green 40 weight King Tut thread here.  I'm still debating what color/weight to use in the black areas of the background.  I can't rip out thread on this acrylic ink-painted piece because the holes will show (guess how I know that).  So I have to get it right the first time.

No, you can't see the back yet...

Tomorrow I will post a tell-all about how I did the resist/dye-painted hibiscus on the left in the photo at the top.

Until then, there are design walls aplenty at Judy's blog (here).

Monday, September 5, 2011

Curses! Foiled Again!

 Last week on my design wall, there was this piece of fabric that I had to do something to.  But I wasn't sure exactly what to do to it.

I finally decided to do some more foiling.  Yep -- foiled again!  But no cursing.
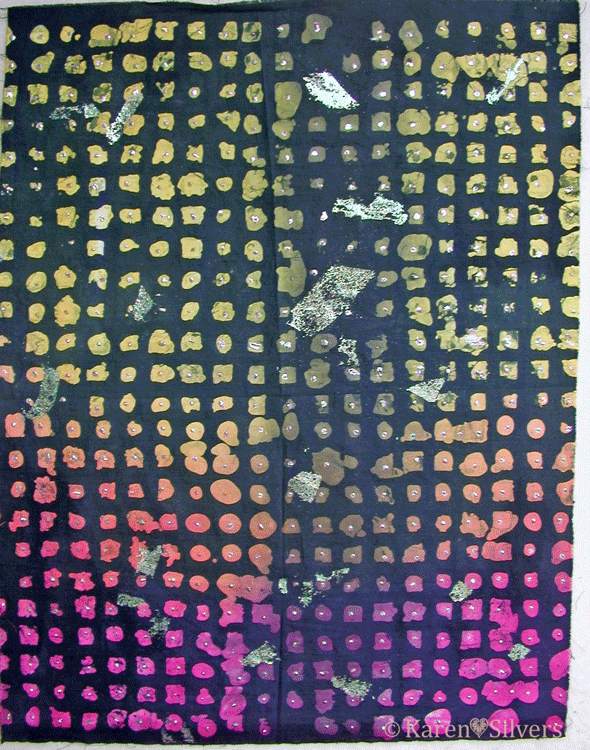
 Because it had already been foiled with glue, I used black Mistyfuse shapes and scattered them around the piece.  I really like the black Mistyfuse on the black background.  I had to be careful not to hit the previous foiling with my iron and I also made sure I worked around it with the fusible web.


I pressed the pieces of Mistyfuse, then added the foil on top.  I really like the way the foil isn't a solid blob -- it has the pattern from the fusible because the foil sticks only to the glue in the fusible web.


This is the final finished piece.  It was dyed, then waxed and over-dyed, then foiled twice.
 This is my final art cloth.  It started out as a snow-dyed madala, looking something like the piece on the left.  I know I took a photo of it before I sent it on its journey, but I can't find it.  Fortunately, I had two that were almost alike.

Beth from Maine was the first to get it.  She used something called "fugitive media."   Basically, it means that she used things that normally aren't permanent on fabric -- chalk pastels and water soluble oil pastels in this case -- then she painted them with base extender and heat set.  There is a much more eloquent explanation of fugitive media here at "...And Then We Set it on Fire."

Then Laura painted it with red Setacolor paint and sun-printed it using round shapes, foam cut outs and gravel from her driveway as resists.

Here is a detail showing the paint and the final foiling that Jenny did.  She followed the starburst design that happened during the original dyeing.  It's a pretty amazing piece.  I'm enjoying having it up on my design wall.

For other design walls, click here to go to Judy's blog.

Sunday, February 14, 2010

Valentine's Day Wishes

"Burning Desires"

Work in Progress
Painted and foiled fusible web on cotton sateen and hand-dyed cotton