Showing posts with label snow-dyes. Show all posts

Monday, September 5, 2011

Curses! Foiled Again!

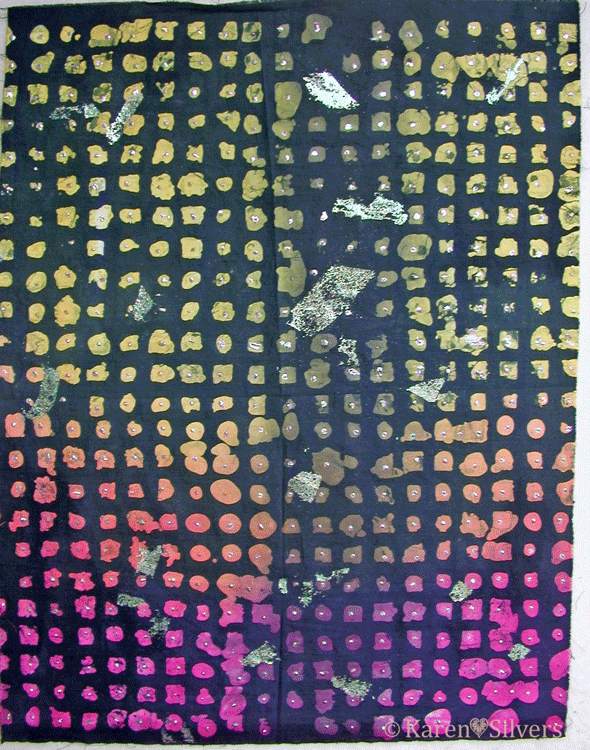
 Last week on my design wall, there was this piece of fabric that I had to do something to.  But I wasn't sure exactly what to do to it.

I finally decided to do some more foiling.  Yep -- foiled again!  But no cursing.
 Because it had already been foiled with glue, I used black Mistyfuse shapes and scattered them around the piece.  I really like the black Mistyfuse on the black background.  I had to be careful not to hit the previous foiling with my iron and I also made sure I worked around it with the fusible web.


I pressed the pieces of Mistyfuse, then added the foil on top.  I really like the way the foil isn't a solid blob -- it has the pattern from the fusible because the foil sticks only to the glue in the fusible web.


This is the final finished piece.  It was dyed, then waxed and over-dyed, then foiled twice.
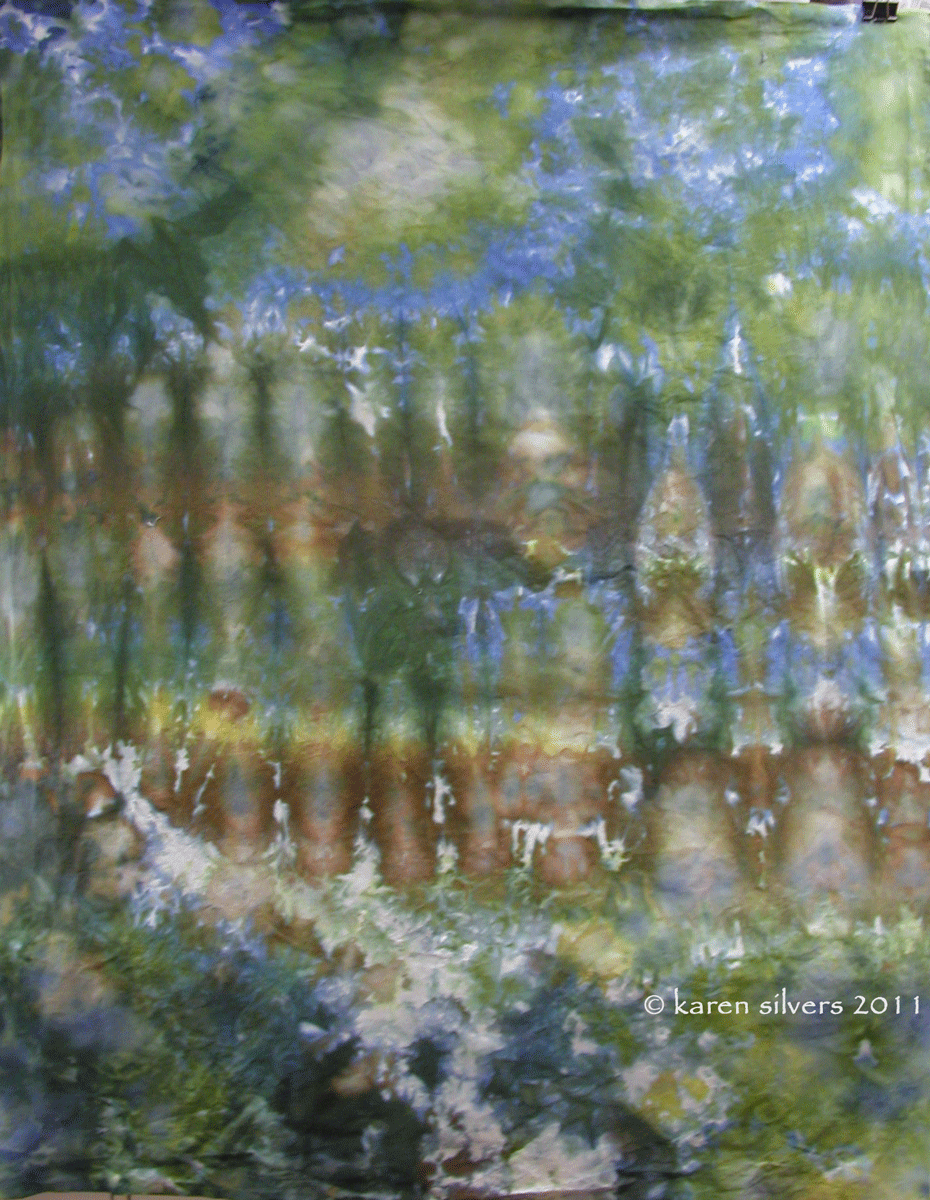
 This is my final art cloth.  It started out as a snow-dyed madala, looking something like the piece on the left.  I know I took a photo of it before I sent it on its journey, but I can't find it.  Fortunately, I had two that were almost alike.

Beth from Maine was the first to get it.  She used something called "fugitive media."   Basically, it means that she used things that normally aren't permanent on fabric -- chalk pastels and water soluble oil pastels in this case -- then she painted them with base extender and heat set.  There is a much more eloquent explanation of fugitive media here at "...And Then We Set it on Fire."

Then Laura painted it with red Setacolor paint and sun-printed it using round shapes, foam cut outs and gravel from her driveway as resists.

Here is a detail showing the paint and the final foiling that Jenny did.  She followed the starburst design that happened during the original dyeing.  It's a pretty amazing piece.  I'm enjoying having it up on my design wall.

For other design walls, click here to go to Judy's blog.

Monday, March 21, 2011

Boooring Monday

My design wall hasn't changed a whole lot since last Monday.  I folded the two snow-dye background pieces into the size I need -- still haven't make up my mind which I'm using.  The stuff on the right is experimental.  I'll post more about that when I have something to say about it.

I did get the frog quilt mostly done this weekend.  I'll be posting a picture of that later this week.

For more design walls, click here to go to Judy's blog.

Thursday, February 10, 2011

Latest Snow-Dyes

I was really taken by the recent snow-dyes by my friend, Judi, at Judi's Crazy World.  She has been dyeing gorgeous mandalas with her snow.  Since we have enough snow to last until Labor Day, I figured I should try it.

I like this one the best.  I used warm colored dyes (lemon, fuchsia, brown, etc.) but this beautiful lavender color showed up for the party.

I don't really like this one.  The colors are flat and the patterning is not interesting.  I am moving this to the ready-to-use-for-more-resist-experiments pile.


I like this one -- the colors are much prettier in person -- I used lemon and a couple of different blues.  


This one and the next one are really intriguing.  I used the same colors as the first one, but the yellows really came out and did some neat patterns.  Again, the blueish/lavenderish colors are really striking.  They must be in the brown dye.

Like the one above --really neat patterns with the yellow and blueish colors.

These are all one yard pieces.

And I have been working on my 3Creative Color Palette Challenge.  I love these colors.  And I had all of them in my stash (quelle suprise!).  I hope to have it finished in the next day or two.

Friday, January 21, 2011

First Snow Dyes of the Season

We've had lots of snow this winter, but I've been way too busy to do much dyeing with it.  And then, I do still have a bit left from last year...


I was going for a natural woodsy-lost-in-the-forest look and chose my dyes accordingly.

 I measured wrong and after all of these were done with the dyeing and the washing and the drying, they were all a little bit short of a yard.  Each one measures 35 to 35 and a half inches by 42.
I used sky blue, cerulean blue, navy, lemon yellow, golden yellow, and brown.


The thing I like best about these is that they all have the colors in this month's Color Palette Challenge over at Three Creative Studios.  I'd like to say that was intentional, but I'll come clean and admit it -- it's a happy accident.


This last one is my favorite. It's the one I'm keeping.   I'm not sure what I'll do with it yet.  

It reminds me of scary woods and Hansel and Gretel.  Maybe it needs a few breadcrumbs?


Tuesday, October 19, 2010

Backside of the Pelican

I'm not ready to unveil the front -- I'm still trying to decide on the binding.  But for you voyeurs among my readers -- here is the other side of the bird.
And a closer view of the pelican.  I used a snow-dye from last year for the backing.  I left the photos larger than I usually do, so for a closer look, click on the picture.

Tuesday, March 9, 2010

The Last Snow Dye

For this year anyway.  I love the mix of colors in these -- there is purple, turquoise, and some ultramarine.  I like all the greens and browns where it mixed with the orange.  The orange is a pure MX color, but the blue is a blend, hence all the cool colors.

So the forecast was for 50 degrees and sunny, so I was going to take some (unpaid) time off work and play in the dye studio.  Unfortunately, or fortunately, I'm not sure exactly how I feel about this yet, I was way too busy and could not take any time off work.  However, the forecast was wrong and the afternoon was damp, dreary, and decidedly not in the 50s.

So I did just these two pieces with the dwindling snow and some soft orange and sapphire dyes.  The snow was like tiny ice pellets and dirty (dog hair and who knows what).

I used the same technique for each: accordion folds and poured the dyes over in a stripe pattern.  
I let them batch inside on top of some green gradations I needed for something else I'm doing.

These are navy and lemon yellow with a tiny bit of golden yellow to make it interesting.
I have finally figured out how to dye light colored fabric.  I prefer really deep saturated hues and it's emotionally difficult for me to mix pale colors.  But the dark colors don't look good without the contrast of light.

 I mix my dyes in plastic beakers or used Chinese soup containers (they have really great fitting lids).  There are always drips and dribbles of color left in the container after I pour out the dye.

So now I mix a half cup of water in the container and roll it around to get all the color washed off the sides and into the bottom and then scrunch soda-soaked fabric into the pale color left.  I don't have to mix up those watery colors and I satisfy my need to avoid wasting any bit of dye.

It's supposed to rain all week, so all the snow will melt.  The best part is that the forecast (however inaccurate) is for unseasonably warm temps.  That just makes me happy.

Wednesday, March 3, 2010

Stem

"Blade"
4" x 6"
Snow-dyed and hand-dyed cottons, pieced, fused, cotton threads
The Creative Cue for this week is "stem."  I thought of "stem the tide," "stem the flood," and slang for a lovely leg, but since it's going to be in the 40s this weekend, a blade of grass peeking up from the ground seemed most appropriate.  
This is a postcard quilt.  Leave a comment on this post before March 10th and I will drop it in the mail addressed to the commenter whose name my DH draws out of a hat on that day.

Thursday, February 25, 2010

Snow Dye Parfait Results

I brought the parfait bucket into the house and let it batch on top of a heater vent in the family room under the lemon tree overnight.  By the next afternoon, the snow was almost all melted and all the water and dyes had drained into the stuff at the bottom of the bucket.

I rinsed and washed the fabrics.  They don't look anything like the fabrics Shirley had.

I'm pretty sure that these are in order from bottom to top as they were layered in the bucket (again, with the shoddy note-taking).
Each layer of fabric took on some of the the color that it sat on top of and then got more color from the dye above as it dripped through the snow.

I like these -- I think it would be worth an experiment to try it using a more limited palette of color, such as yellows with orange and reds, maybe blues, purples and magenta, or blues and yellows together.

Probably because the snow dripped through all the layers as it melted, there was very little dye left to wash out -- the second rinse had no color in it.  The liquid at the bottom of the bucket was pretty dark.

The top layers had the best patterning and color, so I think that fewer layers would be a good idea also. 

Monday, February 22, 2010

Snowy Monday Design Wall

Today my design wall is a hodge podge of stuff.  The sparkly chickens are still there, the couple of blocks that I started for my piecing club and those painted fish occupy the lower portions.  Off to the right is an unfinished piece inspired by my cyber-friend Judi at Approachable Art.  It includes regular hand-dyes (by me) and some of my snow-dyes.  As I sew the strips together, I have been adding more strips.  They're quite narrow -- one to two inches wide, so they finish out at 1/2 to 1 inch.  I like the edges  staggered, so I'm going to have to figure out how to finish them without losing that effect.  If you would like to see what is going on on other people's design walls, click here.