Showing posts with label monoprinting. Show all posts

Friday, April 27, 2012

A New Book, New Fabrics, and a New Finish

First up:  I'm a winner!  Intrepid writer, quilter, dyer, and all-around-famous-person Laura Wasilowski chose me as winner of her latest book: Fanciful Stitches, Colorful Quilts!


This book appeals to me on several different levels. It has easy projects featuring really bright hand-dyed fabrics.  As people who know me know, those brights are near and dear to my heart.

It contains several pages of embroidery stitches.  I already knew how to do these stitches, but it's handy to have them together and illustrated with really bright threads.   Also, Laura combines them in interesting ways and has before and after photos of quilts showing the impact of the embroidery.  And I love the chart that shows which needle to use with which size thread.

But best of all, it's a recipe book for quilts that seeks to teach and inspire, not just provide rote follow-my-pattern stuff.  In my favorite of the "tip" boxes scattered throughout, Laura suggests: "Add your own creativity.  Cut fabric shapes freely or with decorative blades.  Ignore the photo and placement guides and arrange the design elements to your liking."  Yes!  Thanks, Laura!

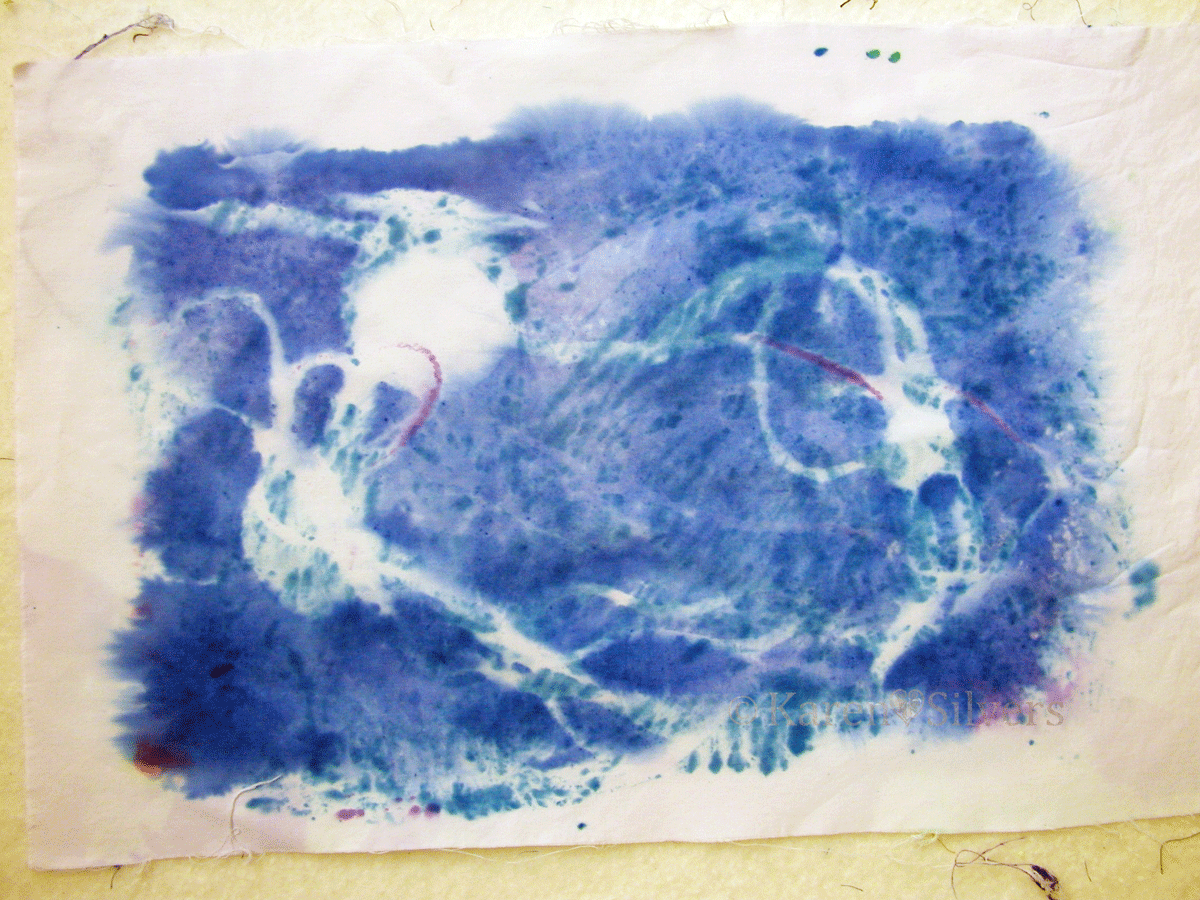
 These are my latest monoprinting experiments.  Nienke blogged about it here on the "...Fire" blog.  I used thickened dyes instead of the soap trick.  They don't look much like flowers to me -- more like sea creatures.

I've been playing around with flour resists again.  I did these with rice and wheat flours and some plastic stencils.


I'm going to be experimenting a bit more with these before I post a how-to.  I like them, but I'm not thrilled with the results.  More on that later.


I finished the Japanese Taupe Blocks bag. This is the inside front of the bag.


And the backside.


I added a zipper compartment inside.

My favorite parts of the bag are the box pleats on the sides.  The instructions for this are in the book we're using for the 2012 BOM here.  The author, Susan Briscoe, has a blog here.


And this is the appliquéd front.  I love the way this turned out.  I am considering making another.  In eye-popping brights this time, though.  And more pockets inside.

To see some other appliqué projects, click here to go to Angie's blog.  

Saturday, April 14, 2012

Socially Acceptable Mud

 Years ago, when my eldest son was in preschool, I got "talked to" about his behavior.  Okay, I got "talked to" a lot about his behavior (and, to be fair, that of my other kids too).  But this particular time, it was because he and a couple of his friends had discovered a corner of the play yard that was bare of grass and when water was added to this particular patch, a lovely mud developed.  It was great fun to use the mud for sculpting and painting.  Of course, his clothing suffered, but generally this particular son was pretty fastidious for a little kid.  So I wasn't worried about the mud.

Not so, the other parents.  Apparently my son was the ringleader in the mud art projects and had to be stopped.  I remember his sorrow as we rode home from preschool the first day after the mud artwork was halted because it was no longer allowed.  He was so sad.


I have a birthday coming up.  It happens every year around this time (no, it's not yet, so please don't make a fuss).  But I decided some time ago (actually, a very long time ago) that I would remain at 27.  The rationale for this was fairly simple.  If you say you're 29, everyone assumes you're lying.  At 27 -- you just might be telling the truth.  And thanks to fortuitous genes, I could carry it off much longer than was really fair.  But now, it's kind of a joke when I say I'm 27.  And that I have my annual 27th birthday each year.


Another reason I refuse to divulge my actual age is that I've found that people seem disappointed when they find out how old I really am.  Like I should act more mature or something.  Oh puleeze!  Apparently, there is a fine line between childlike and childish.  And for some reason, I skirt much closer to ish than like.  And ish is just not as socially acceptable as like.


But I have found that my son was right to be sad.  It's fun to play in mud.  And who cares if you get a  bit dirty?  Especially if you're dressed for it.  And now I've found a socially acceptable mud.  It's called: dye thickener.


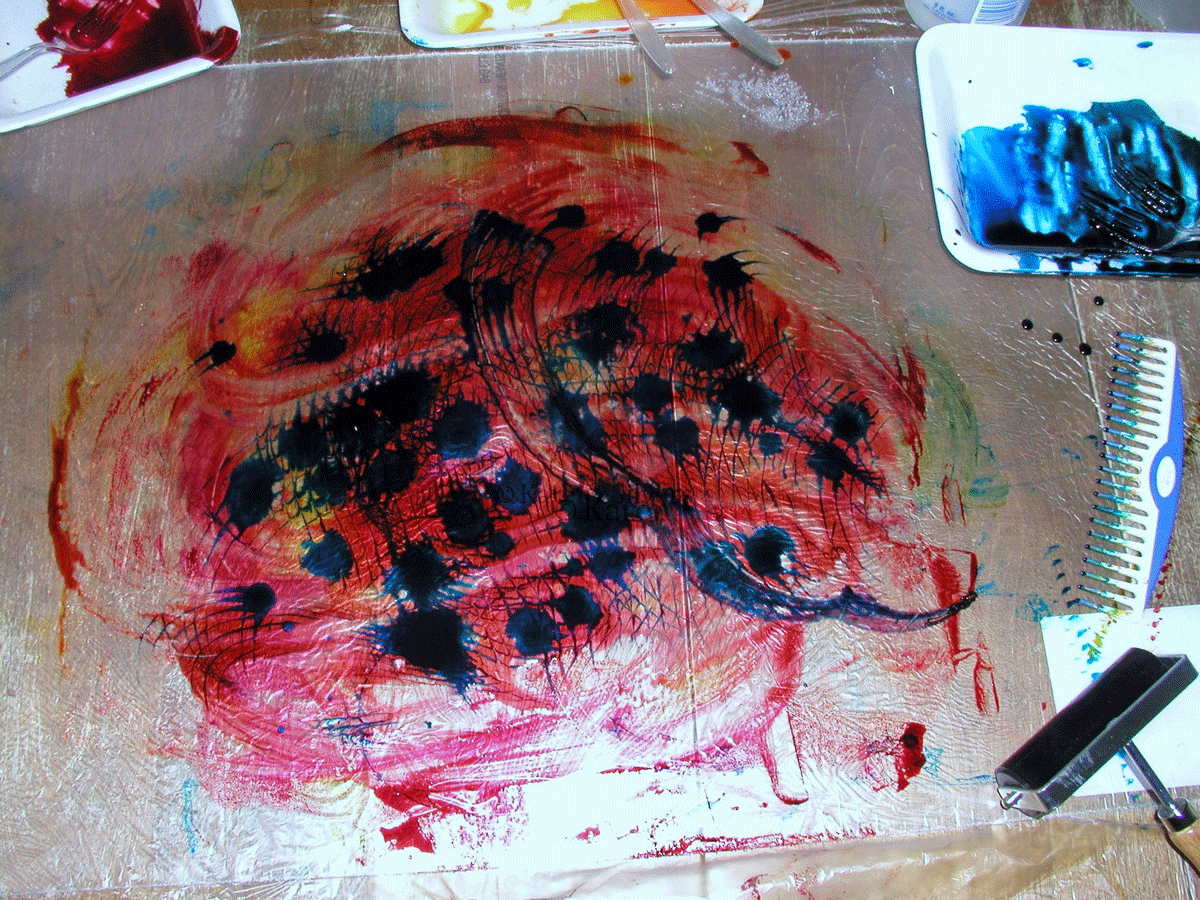
I procured this large piece of plastic (I believe it's a tile for a drop ceiling) and found that if I spread dye thickener on it I could have a great time smooshing it around and adding thickened dyes to make prints  (there is a much more clinical description of this process on the Fire blog here).

I have long looked for a method of marbling with thickened dyes.  I haven't found it yet, but this is close.


I used the plastic combs from my marbling stuff to swirl the dyes on the plastic.  And skipped the "stuff" I was using for resists.  I rather like most of these pieces -- yes, there are a few that are dogs -- but I can use those for further research in my other evil experiments. Bwahahaha...


Sunday, April 1, 2012

April: Fooling Around With MonoPrinting


This month, I am "up" at the "Fire" blog.  This is a reprint of my post from today:  I have always wanted to try monoprinting on gelatin.  But the surface seemed so small and, while I do like to use paints and acrylic inks, I really wanted to try it with thickened dyes.  So last month, in preparation for this month, I started playing around with various thicknesses of thickeners to see what would work best for me.  I'm still playing (and I intend to play around with paints later this month), but these are my findings so far.


First, I needed a gelatin surface.  I rejected pie plates as too small and the sheet pan I wanted to buy from my local restaurant supply as too large (with the early spring, my "drive-in cooler" is way too warm to chill the gelatin) and settled on an old glass 8.5" by 13" dish.  This dish can no longer be used for brownies now that it has found its way into the dye studio, but I really don't need those calories (and in a pinch, I can always purchase ready-made brownies).
I did a little research and discovered that one tablespoon of powdered gelatin to one cup of water is about right for optimum wiggle vs. solid.  I filled the glass dish with water to determine the amount needed (8 cups) and poured a little less than half that of cold water into my studio mixing bowl (again, we don't want to mix up the studio stuff with the kitchen stuff).  I sprinkled in the 8 tablespoons of gelatin.  I mixed it with a whisk and let it soften while I boiled additional water.  I then added the boiling water to the 8 cup line and stirred it with the whisk.  While the gelatin cooled a bit, I sprayed the glass dish with Pam so that the gelatin would pop out easily.

 I poured the gelatin into the glass dish, covered it with plastic wrap and let it refrigerate overnight.  I didn't try to skim the bubbles or anything because I planned to use the other side for my prints.


The next morning it was set and and I inverted the dish on top of the plastic wrap so I could use the wrap to put it back into the dish when I was finished for the day.  I did find that sometimes I had to help it out of the dish with a plastic fork, but generally it popped out easily -- especially after it had been used once or twice.  When it started coming out of the dish in pieces, I just pushed them together and used it anyway, but replaced it soon after that. 

Blobby dyes -- okay, but not what I was looking for
I tried various degrees of thickened dyes -- I have a lot of really thick dye thickener from last month's experiments -- but found that when I added liquid dye concentrate it was globby and made my prints blobby.  I kind of liked the effect, but I really wanted to use smooth dyes.  I found that mixing the thickener as for dye painting and then mixing the dye powder directly with the thickener worked best.

The measurements that I used were as follows: for one quart water, two teaspoons of thickener.  Then add to that mixture one tablespoon dye powder for each cup of thickener.


I don't have a blender that I can donate to my studio right now (it's still needed for those pestos and certain summer drinks) so I found that if I sprinkle the thickener powder into the water while whisking, I can get a mostly lump-free liquid.  Let it hang out in the fridge overnight and it's perfect.  Just stir it up before measuring it out for the dye -- I use my trusty dye studio whisk.


After it's been used a bit, the gelatin takes on some nice color, but if it is wiped off, the color doesn't seem to transfer to subsequent prints.


I put the thickened dye in a plastic tray (I use these a lot for paint palettes) and spread it on the gelatin with the hard rubber brayer.  It seemed to work the best, the spongy one absorbed the dye and didn't lay the dye down on the gelatin.


I arranged some "stuff" on top of the thickened dye to act as a resist.  I discovered that flatter is better for "stuff" because I like crisp edges.  The plastic lid stuck up too high and I used a cutout circle of thin cardboard for later prints.


I laid a soda-soaked piece of fabric over and used the spongy brayer to smooth it down.  I need to get another hard rubber one because the spongy one absorbed dye and left it in places where I didn't really want it, although it worked well to smooth the fabric over the less-flat "stuff."   I soak my fabric in soda ash solution and spin the excess liquid out in my washer -- I did use some pieces that were still damp and it didn't seem to matter much.


After peeling the print off, I removed the resist "stuff," put down another piece of fabric and got some lovely negative prints.   I laid the prints in a single layer on thin plastic garbage bags that I had cut open; then I folded them up and let them batch overnight.


Some of the negative prints were less interesting and I put them on a pile to "overprint" later.  Below are more "finished" prints.


This last one is my favorite.  The strings were pretty saturated with dye and left lovely "ghost" marks on this one.  Also, I moved the fabric around on the gelatin so that the dye covered the edges.

I plan to do more with this -- I'd like to experiment with warm colors.  Also, I want to play around with acrylic paints and inks.  But I'm really liking it so far...

Later this week, I'll post some photos of the deconstructed screen printing experiments.