Showing posts with label thread work. Show all posts

Friday, April 17, 2015

Spring!


So I needed something to perk up the log cabin blocks in the previous post.


I drew an iris on a piece of freezer paper and used it for a pattern.  I cut out a piece of stabilizer (it's at the top of the photo).  The I pinned a piece of fabric to the freezer paper and colored in the iris with my Tsukineko inks.


I cut out the fabric iris and fused the stabilizer to the back.  Then I used fabric glue to turn the edges over the stabilizer.

Clearly I didn't measure so well, because there is a lot of white sticking out around the edges.


So I got the inks back out and colored in the edges.


I pinned it to my log cabin background -- see the previous post for more about that.


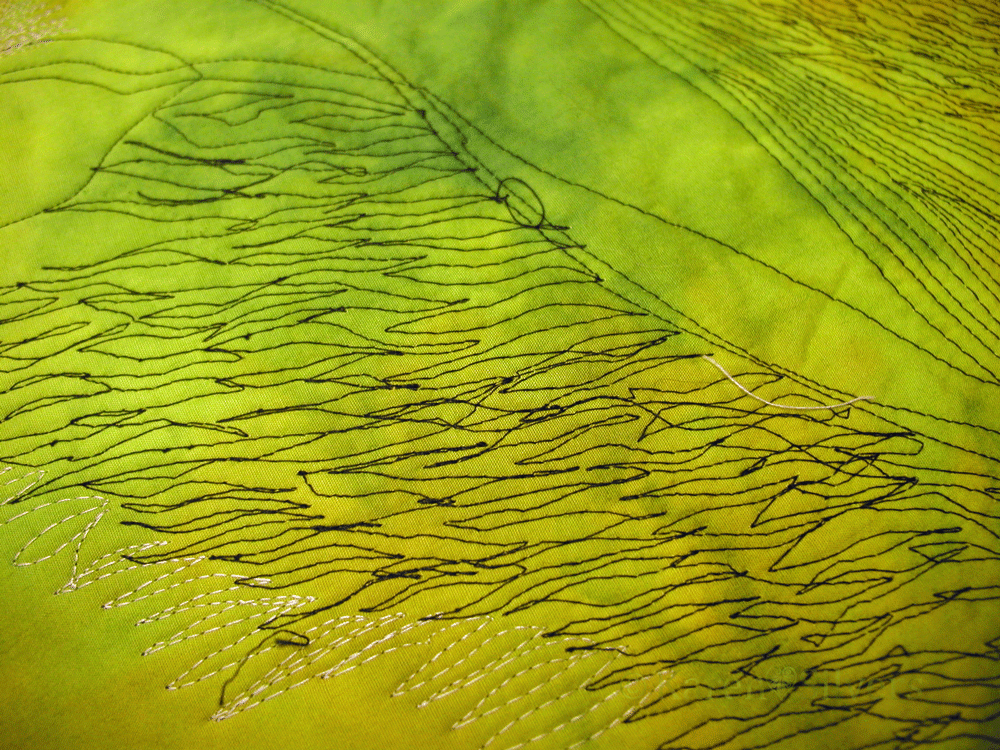
I did a lot of stitching on the iris to give it texture before I layered it with the batting and backing.


Here is a shot of the backside before trimming and binding.

"Spring"
13" by 17"


Linking up with Nina Marie Sayer today at Off the Wall Fridays and Marrtje Quilting in Amsterdam.

Thursday, March 5, 2015

Spring is Coming in...


"Two Shakes"
36" by 36"

It was sunny today,so I posed my lambs on a snow bank.


And a couple of detail shots.

I think I need to add a bit of ink or paint to the flower stems.  I quilted them in, but I think they would benefit from a little bit more color.  Or maybe not.  *smile*

Now that it's all finished, I think the legs on the left lamb look a bit awkward in the photo.  But then spring lambs are new at standing, aren't they?  

Linking up with Nina Marie Sayer today.

Friday, February 27, 2015

Spring: it's coming again

Actually it came and went.  I wrote this post last April and just finished it.

Okay -- maybe not here in Wisconsin.  But for most of the northern hemisphere, it is.  My guild, Lodi Valley Quilters Guild, has a spring challenge each year that coincides with Quilt Academy.  A choice of three classes are offered from a long list of possibilities; it's a really big deal.  I'm on the committee (I redesigned the brochure this year) so I felt more than obligated to finish my challenge for the quilt display we did with it.

The challenge fabric was this floral.  
 Totally not my style.  But I had to use some of it.  On the front.  Hmmm...

So I got this idea of spring animals frolicking in the flowers. I ironed fusible web to the entire fat quarter.  Then I sat at a meeting and later in front of the TV and cut out individual flowers.  I made it easy on myself and used textile glue to fasten the sheep parts to the background for quilting.


I pinned a thin cotton batt to the back and stitched all the lambs' wool with Aurifil thread.  Here are the finished lambs before I cut away the batting and layered it with the final wool batting.


I will post a photo of the finished piece in a week or two after the show on April 5.  I might have some fun photos of the guild members then too.

Okay, this is not true.  I will post the finished project sometime this month.  OK.  I lied again.  It has been nearly a year and here it is!

Wednesday, October 1, 2014

Monochromatic 2 Challenge - Construction

In the previous post I showed the finished piece.  Following is the sequence of construction.

I drew the outline, some of the spots, and the eye on this commercial batik with a washaway marker.

The inks I used are lined up and you can see a tiny sample of each color on the side of the fabric next to the bottles of inks.

Using temporary adhesive spray I attached a piece of wool batting to the wrong side and stitched around the outline with a medium orange thread.


After the initial stitching, I inked in the eye, spots, and shadow.

I arranged all the threads I might want to use in order of value.

This is a closer view of the inked portion before I added more thread. 


I used straight stitching on the eye with four different threads.  I used a couple of different weights because I wanted a lot of color and texture variation.  I used a free motion zig zag stitch to give the rest of the gecko the appearance of scales, using brown thread on the spots and orange for the rest. The blue ink was rinsed away after this.


The back before I cut away the excess batting.

Then it was layered with another piece of wool batt and DecorBond, then quilted.


This is my model in repose in another shot. She is actually more gold/yellow and black.  I used my artistic license to make her orange and brown for the challenge.

Tuesday, September 30, 2014

Monochromatic 2 Challenge


"Gecko"
16.5" by 11.75"

This is my work for the "Monochromatic 2" challenge at Art Quilts Around the World. There is terrific texture that doesn't show up in this photo because it is cloudy today.  I will replace the photo when the sun comes out.


A detail of the eye.


And the back side.

Friday, June 28, 2013

One Stitch Forward, Two Stitches Back


So I was merrily stitching along on Tulips and Rose and I realized that I had done a terrible thing.

I finished a large section of Rosie's fur with the same stitching that I used for the tulips.

Aaarrrrrrgggggghhhhh!  It was particularly noticeable when compared with the correct Rosie's fur stitching.  I did take a moment and think, "well.... I could just leave it.  No one but me will know what it was supposed to look like."  But I couldn't.

Even DH, who entered my lair as I was grousing and mumbling profanities, agreed.  "You can't leave it," he said.   "It will bother you forever," he added helpfully .  AAARRRGGGHH!!

Of course, black thread on black fabric is a teensy bit difficult to see.  And as anyone who has ever ripped out quilting stitches knows, thin thread is especially awful to remove.


So that evening, was I comfortably ensconced on the couch watching TV?  Sitting on my can reading my book?  Happily doing anything?  No!  I was bent over the ironing board with a seam ripper, tiny scissors, and a pair of tweezers picking out stitches.  I discovered that the ironing board was a pretty good place to do this because, first of all, the light is good in my studio.  Second, it provides a firm surface and I could flip the quilt back and forth to snip and rip.  And third, it provides something against which to lean my tired self.


I'm pretty sure I heard the studio gecko snickering...


I used the dog hair remover roller thingy to gather up all the loose thread (sadly, it was not useful for threads that were not already loose).


 I estimate that I probably spent twice as long reverse stitching as I did stitching it twice.  Was it worth it?  Absolutely.


Yeah, I know that it's hard to see the difference.  But guess how much fun it was to try to remove all those threads.


So now I'm a little stuck on the eyes.  I'm not sure how to do the thread.  Usually, when I paint them, I don't use any thread on them.  But I'm thinking that the appliqué needs some thread to anchor it.  Does anyone have any suggestions?

I'm linking up today with Nina Marie at Off the Wall Fridays.

Sunday, June 9, 2013

Evolution of a Horse


In the last post, I discussed how I got the horse on the fabric.  I was playing around sketching with a brush and some watercolors and came up with this image.  I decided to use it for my Asia-themed quilt for Art Quilts Around the World.  


I transferred the horse to fabric with a blue washout pen, pieced the quilt together, then layered it with wool batt, Decor-bond, and Kona black cotton on the back.  I ironed the whole thing to make it flat.  I quilted the parts around the horse fabric with 50 wt Aurifil with a lot of stitching in the ditch.


I machine-sketched with the heavy 28 wt cotton Aurifil thread (the one with the grey plastic in the photo above) and a 90/14 quilting needle.  I used the washout marker so I wouldn't have to follow the lines exactly.


Then I got out my Tsukineko inks and those silly little pointy applicators and inked in my horse.  I hit it with the iron again to set the inks.


After the ink was set, I used matching black/brown variegated 50 wt Aurifil to do the mane and tail.  Then I quilted the background around densely with a pale color of 50 wt Aurifil -- yes, there's a thread theme going on here...

After I finished all the thread work and bound it, I rinsed it in the sink to get rid of the blue washout pen.

For a closer look, click on the photos.


Thursday, September 20, 2012

Finished Quilting, But Oh Woe is the Thread


I finished up the quilting on the four hibiscus series quilts.  I will feature them individually in photos after they're bound.  I used mostly Aurifil threads -- the 50 weight spools -- for the leaves, flowers and beetle.


I had a lot of trouble with the background quilting.  I used some thicker threads and had skipped stitches, broken needles, and nests on the backside.  Not to mention the fraying -- arrrrggghhh!

I tried a series of different needles -- some worked better than others -- none was great.  The best was the 90/14 topstitch needle.  With a bit of silicon dripped over the eye.

But I still had trouble with fraying.  And I used threads from both YLI and Superior.

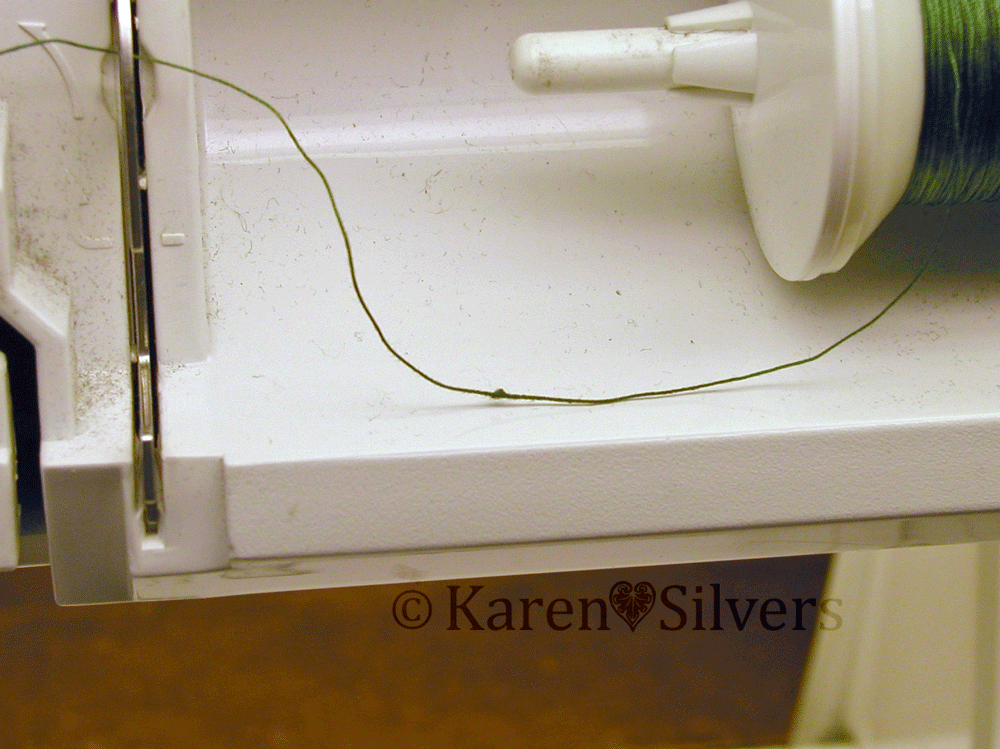
I've used the Superior King Tut a lot for quilting and this spool has been in my stash for a while -- it's not really old, but it's not brand new.  I was a bit horrified to see this little glob of fiber when I opened up the top to see what the spool was doing.  My LQS was happy to replace it, but they didn't have any in this same color; so it's on order and I just finished up using the rest of this spool... after I cut out the wee glob.

And here are the backsides of two of them.  I was sick of shopping in my stash and trying to decide which of my precious fabrics would be ok to "waste" on the back of my quilts.  So I went to my local Mega Fabric and Junk Store and purchased a bolt of inexpensive cotton that was a bit thicker than the stuff I use for piecing and my experiments.  I used a coupon, so it was pretty cheap.  I dyed the whole thing with leftover dyes and wound it back on the cardboard.  So now I have some special backing fabric that won't be "wasted" on the back.  And all that color hides anything I might want to keep quiet.

Sunday, October 24, 2010

The Pelican is Finished!


"When Will We Ever Learn: Gulf Coast, Summer 2010"
31" x 42"

Hand-dyed cottons, cotton threads, wool batt, oil paint sticks

This was created for Madison Contemporary Fiber Artists' show, "Turning Point."   Works will be displayed from January 17 through April 3, 2011,  in Gallery 1 at the Overture Center for the Arts, 201 State Street,  Madison, Wisconsin.  

While watching the horror in the gulf coast unfold this summer, I was devastated by the pictures of the oil-soaked wildlife struggling to survive.  I hope this disaster will be a turning point for us and lead to more responsible use and stewardship of our natural resources.

Monday, September 27, 2010

Why Bother With a Fiber Sandwich?

I have been working on my quilt for a show entitled "Turning Point.  I chose to do a pelican in silhouette against a sunrise (or sunset) on the water.
To do the pelican, I made up a test sandwich with the same wool batting and two pieces of hand-dye.
 In order to make it as similar as possible to the actual quilt, I fused some of the scraps from the pelican to the top piece of the sandwich.
Then I used safety pins to hold it together.  Normally, I would use spray adhesive to hold such a small piece together, but I didn't use it on the "real" piece, so I didn't use it for the test sandwich.  It was really windy on the day when I layered it and I don't like to use sprays in my house, so I safety-pinned it.
I use the sandwich to test tension and needles for the different threads.  Every time I change the thread or needle, I get out the tester and stitch a bit on it.  In the photo above, the tension isn't quite right.  It's easy to fix it here, rather than "unquilt" the real piece.  The loops in the two samples above were "fixed" by replacing the needle.
I also used it to audition threads and quilting patterns.  I auditioned three different threads before I decided to use the one on the right for the wings.

I have finished the thread work on the pelican and next I'll tackle the water.
This is the new sandwich to duplicate the sky/water area.  No fused pieces.  I am going to add some paint over the quilting on the water portion, so I chose colors that were close to the ones in the "real" piece.
And the backside -- tension looks pretty good to me.  Next up:  quilting the water.